Wednesday, April 02, 2008

Bookmark

Last year, I had started out on a cross stitch piece. It was pretty huge, and taking up a lot of my time without nearing completion. I thought it would be a nice change to work on a similar, but smaller, design for starters.

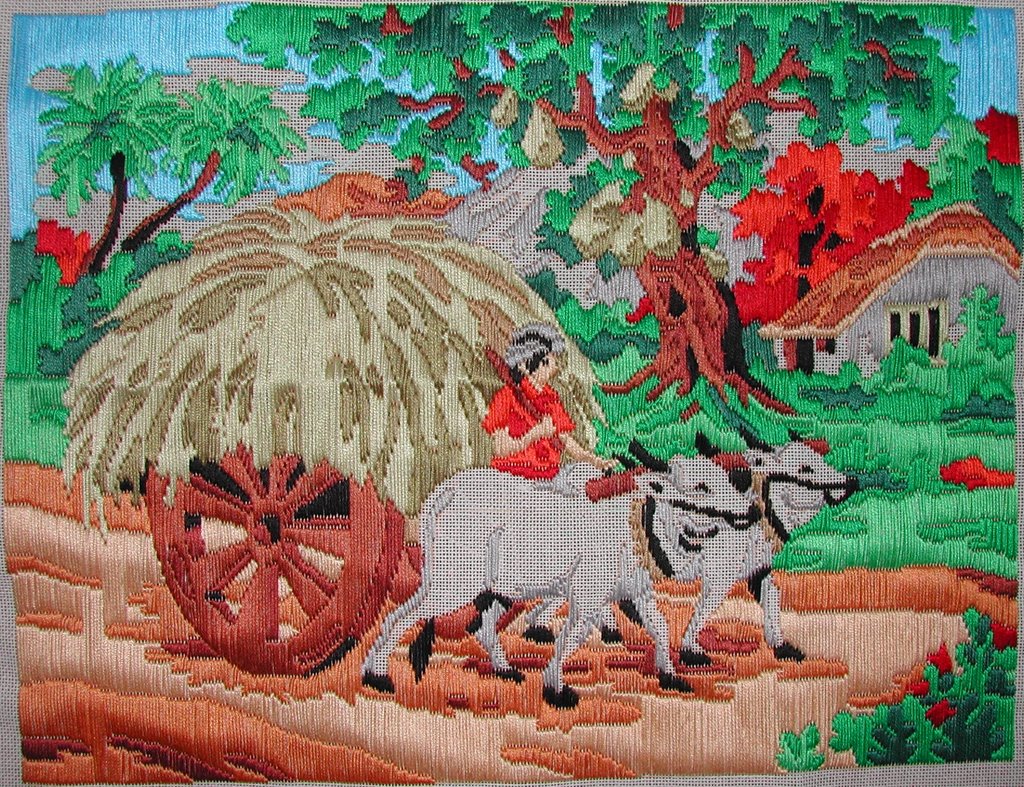
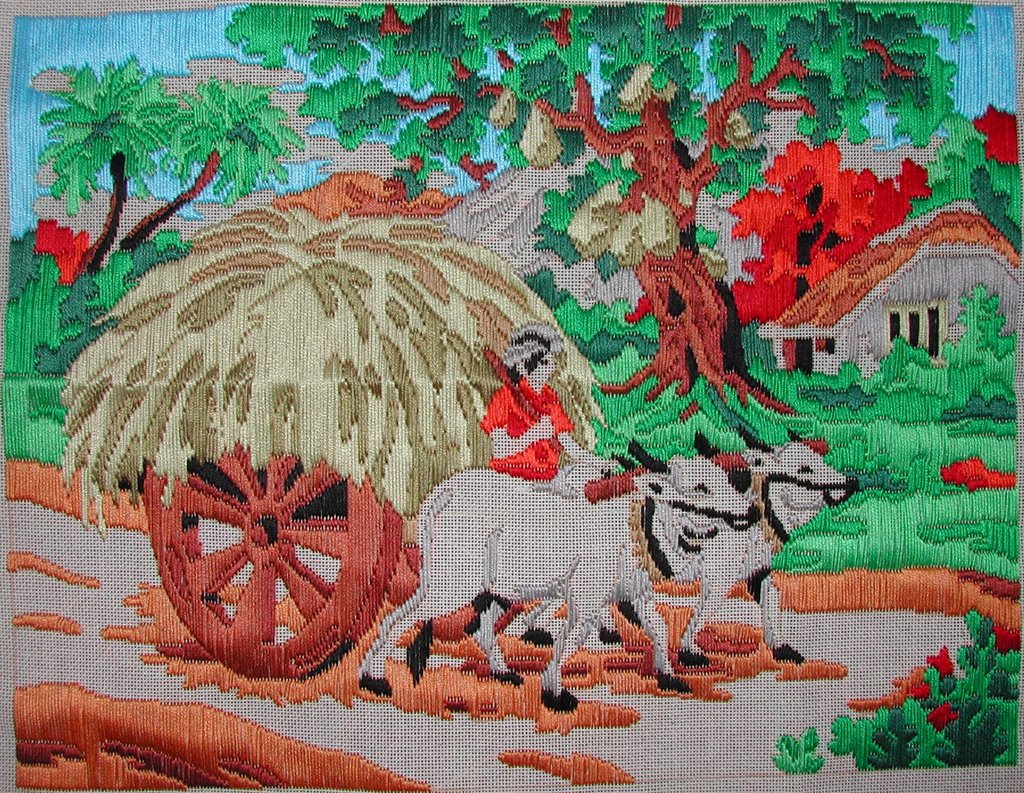
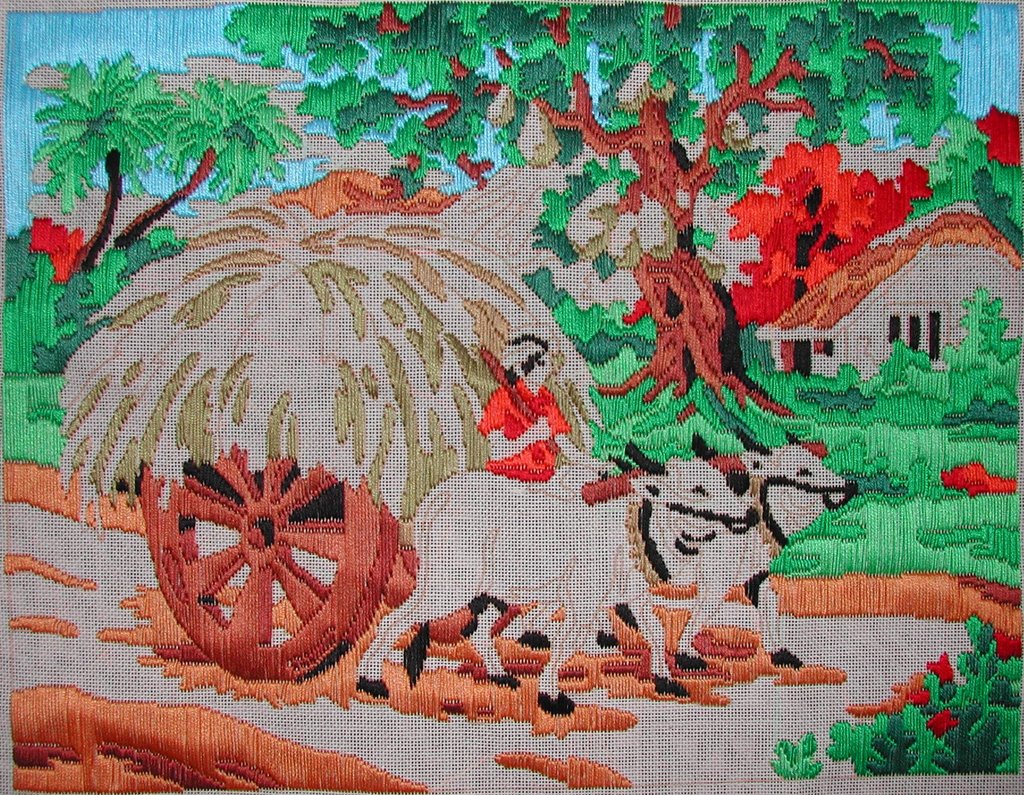
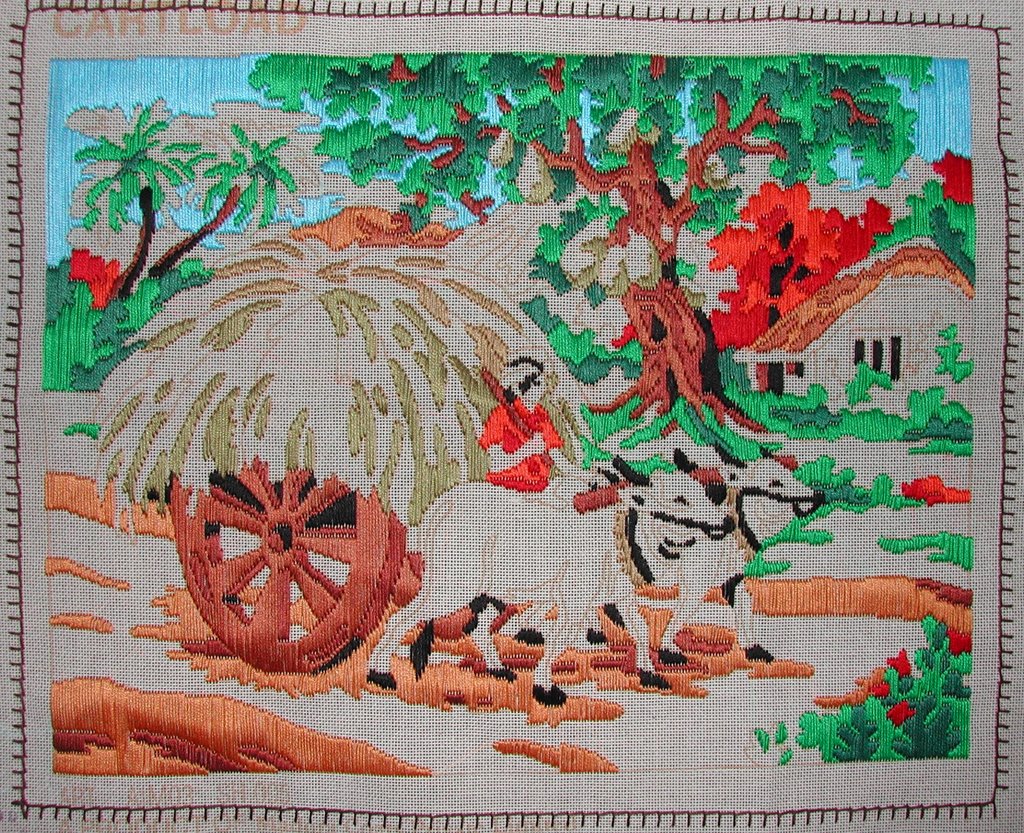
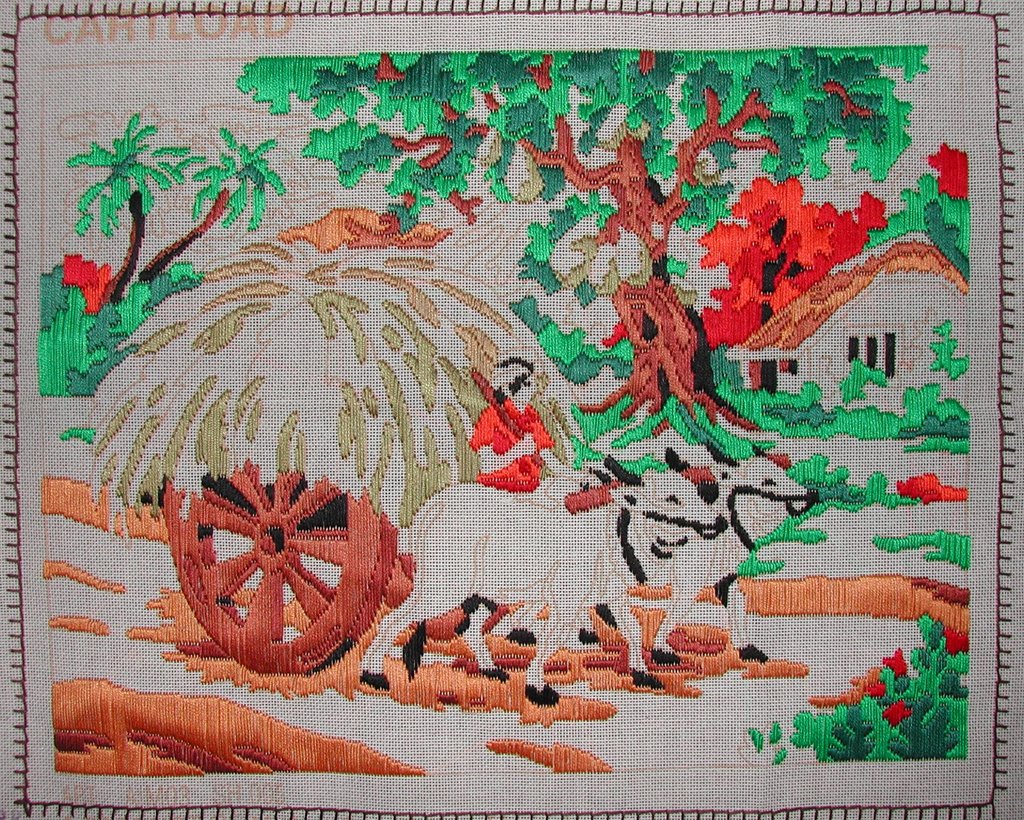
I will use this post to track the progress on the smaller cross-stitch piece (and return to the bigger one sometime later this year). I will refrain from providing any details on the kit for now, lest the final design be revealed prematurely. Suffice to say that the kit had a piece of plain white Aida cloth, with laced edges, the size of a bookmark, and the design and colour codes printed on a separate piece of paper. I went to Joann's and purchased the embroidery floss for the various colour codes.

After finishing up a couple of colours, I realised that it would be prudent to avoid the knotting of the embroidery floss, and also linking two different sectors of the same colour with a running thread. I got curious, Googled for further tips, and ended up on this very informative page.

I plan on updating this post with edits as and when I complete each colour.

First off, the blank Aida cloth:


Cross stitches with Colour 1:


Cross stitches with Colour 2:


Back stitches with Colour 2:


Cross stitches with Colour 3:


Back stitches with Colour 3:


Cross stitches with Colour 4:


Cross stitches with Colour 4:


Cross stitches with Colour 5:


Cross stitches with Colour 6:


Cross stitches with Colour 7:


Cross stitches with Colour 8:


Cross stitches with Colour 9 (Completed Bookmark):


Friday, February 15, 2008

You Are Loved

I recently came across a blog post presenting a humourous take on the travails faced by a guy in choosing an appropriate gift for his valentine. The segment relevant to this blog post is reproduced below.

“You are missing the whole point, Ashok. You do not express love by buying stuff. Buying is easy. Essentially, its like saying that you just don’t have the interest and inclination to spend your time doing something special for her, so you just get it done by some one else in exchange for cash”

My take is that the above applies not only to gifts given on Valentines Day, but also farewell gifts and the like.

Now, what has this got to do with a hobby blog?

Right since my undergraduate days, I have felt that a perfect gift is one in which the recipient can appreciate the time and effort put into it, rather than its monetary value. This is where your hobby comes into play. You could create some work of art, such as a painting or a portrait. Basically, anything that you feel you are good at. In fact, some of the best gifts that I have given (as farewell gifts for college friends, or even just a note of thanks for being a person who has influenced my life in a major way) are embroidery kits that I have worked on.

The kit nature makes the start up easier, and you can still put in your time, effort and patience to ensure that the final piece is your own result.

A month or so back, I came across a 'Sew Say It' kit while shopping. The kit included printed fabric, felt backing, buttons, embroidery floss, needle, threader a painted frame and two chipboard cards for framing. It was more of a craft kit rather than an embroidery one. I purchased it, and worked on it for close to 6 hours spread over 2 days. The result is here:


Stitches used: Running, Blanket, Back and Lazy Daisy

Does this make a good gift for Valentines Day? Too late (or too early!) to ask, right?!


Monday, October 09, 2006

Progress on Cartload - VIII

Edits to the initial post:

Picture of the completed kit (after being held taut):


-- End of Edits --

After 72 hours of being occupied with the kit over a period of 29 days, it has all come to an end! A four hour continuous effort starting last midnight finished up the kit, and a picture of the completed kit (unstretched) is put up here.


Time spent on filling up the remaining area with white: 4 hours (approx.)
Cumulative time spent on the kit: 72 hours (approx.)

Later today, I will try to add a picture of the kit such that the crumpled look due to the bending of the canvas is not very obvious.

With framing charges in the US being much more than the cost of the kit itself (which was bought in India), I have decided to send the completed version back home for framing. I am planning to put up a picture of the framed version once I get it back.

Now, the only thing left to do with the kit on my part is to decide whom to gift it to!

Sunday, October 08, 2006

Progress on Cartload - VII

I am posting this with just one more colour to go! Here is the kit status after the last of the brown shades got done with.


Time spent on identifying and working out the above regions: 4.5 hours
Total time spent on the kit so far: 68 hours (approx.)

Saturday, October 07, 2006

Progress on Cartload - VI

The last two days have been pretty busy and taxing, not only with the kit (for which I am fighting a deadline!). The shade of gray and the rest of the haystack have been worked upon, and here are the latest updates.


Time spent on identifying and working out the above regions: 5.5 hours
Total time spent on the kit so far: 63.5 hours (approx.)


Time spent on identifying and working out the above regions: 3 hours
Total time spent on the kit so far: 58 hours (approx.)

Thursday, October 05, 2006

Progress on Cartload - V

This post gives a minor update only. Just a single colour has been completed since the last progress update, and here is the latest status of the kit:


Time spent on identifying and working out the above regions: 4.5 hours
Total time spent on the kit so far: 55 hours (approx.)

Monday, October 02, 2006

Progress on Cartload - IV

Over the past one week, I have been working quite a bit on the kit, and I was particularly enthusiastic after my visit to JoAnn's. However, the colours didn't match quite exactly as warned on the websites carrying the Anchor to DMC conversion chart. You can see for yourself in the difference in shades between the wisps of hay on the top and the bottom of the haystack However, the one thing of consolation is that the difference in shades is not that obvious when the kit is viewed directly. With regions starting to get filled up, the canvas has also started bending, particularly in areas where it was creased due to folds during packing. These will get corrected in the framing process (this has been my experience from working with previous kits)

Here are the latest updates on the kit, and as usual, the most recent status of the work is right on top.


Time spent on identifying and working out the above regions: 4.5 hours
Total time spent on the kit so far: 50.5 hours (approx.)


Time spent on identifying and working out the above regions: 5.5 hours
Total time spent on the kit so far: 46 hours (approx.)